
Kitchens · Bathrooms · Laundries · Bars
Glass Splashbacks
One sheet of glass, no grout lines, wiped clean in a second. A splashback is the cheapest way to make a kitchen look finished — as long as the colour is right and the cut-outs land where they should.
Getting the colour right
This is where most splashback disappointment comes from, and it is entirely avoidable.
- Standard float glass is green. Faintly, but enough to shift a pale colour. Behind a white or soft grey splashback it reads as a cool, slightly dirty tint. Low-iron glass removes it, and for pale colours it is worth the extra.
- Paint colours don't translate directly. The paint sits behind the glass, so it is viewed through a layer with its own reflectivity. We produce a sample on actual glass before the panel is made.
- Lighting changes everything. Under-cabinet LEDs, especially cool white, can shift a warm neutral several steps. Look at the sample in the room, at night, with the lights you'll actually use.
Beyond a solid colour
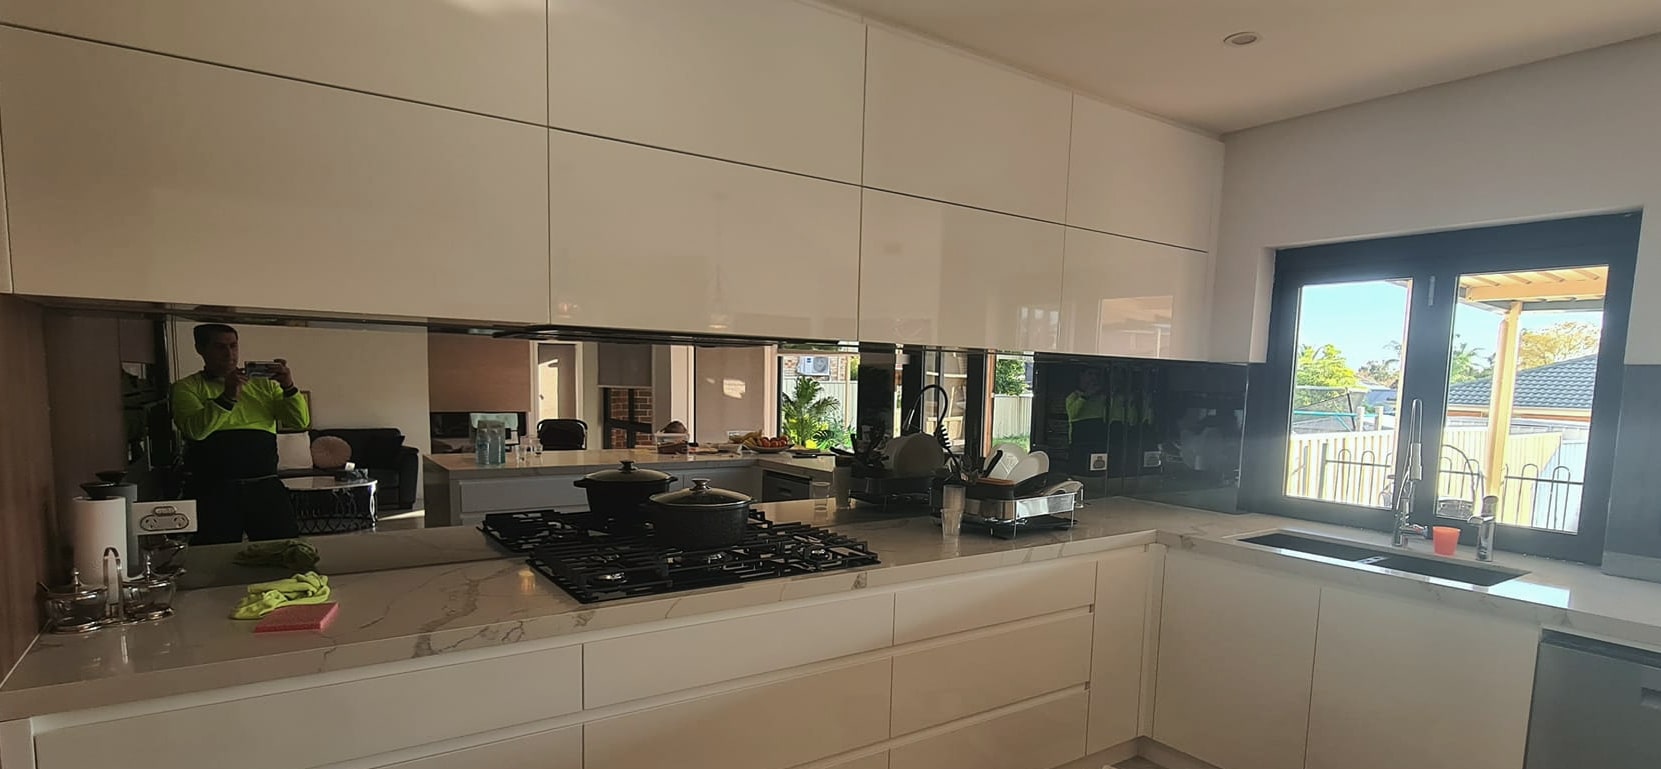
Colour-backed glass is the default, but it is far from the only option — and mirror in particular does a lot of work in a small kitchen.
- Mirror and antique mirror. Visually doubles a galley kitchen. Antique and bronze-tinted mirror hides fingerprints and marks far better than plain silver.
- Metallic and pearlescent. Paints with a metallic flake that shift with the light rather than sitting flat.
- Low-iron clear over the existing wall. Keeps a feature tile or a rendered finish visible while making it wipeable.
- Printed and digital. An image or pattern printed to the back face, sealed behind the glass.
Behind a gas cooktop the glass must be toughened, and there are minimum clearances to the burners — we'll confirm what your appliance manufacturer requires.
Specification at a glance
- Glass
- 6mm toughened as standard. Low-iron recommended for whites, pastels and any pale neutral.
- Finishes
- Any colour matched to a paint deck, mirror, antique mirror, bronze and grey tint, metallic, pearlescent, printed.
- Cut-outs
- Power points, switches, rangehood ducting and tap penetrations cut and polished in the factory before toughening.
- Sizes
- Single seamless panels wherever access allows; larger runs joined with a clean butt joint rather than a trim.
- Installation
- Bonded to the wall with neutral-cure silicone. Requires a flat, sound, dry substrate.
- Lead time
- Usually 1–2 weeks from template. Templating happens after the benchtop is installed.
Questions
Splashbacks — the usual questions
Can it go behind a gas cooktop?
Yes — toughened glass is rated for it. Every appliance has a minimum clearance from the burners to a combustible or glass surface, so we check your model before finalising the panel height.
Do you template before or after the benchtop?
After, always. The benchtop sets the bottom line of the panel and it is never exactly where the plan said it would be. Templating before means a visible gap or a panel that doesn't sit down.
Can you install over existing tiles?
Sometimes. The tiles need to be flat, sound and not too textured, and you lose the tile depth off the benchtop. If there's a chunky border tile or a bullnose, they usually have to come off first.
How do I clean it?
Warm water and a microfibre cloth. Avoid abrasive creams and anything with grit — the paint is behind the glass and safe, but scratches in the front face are permanent.
Often paired with
-
Mirrors
Bathrooms · Wardrobes · Gyms · Feature walls
-
Shower Screens
Frameless · Semi-frameless · Framed · Walk-in
-
Toughened & Laminated Glass
Cut to size · Processed · Certified
Get a firm price, not a guess
Free measure and quote across Sydney. We confirm the glass type, the hardware finish and the lead time in writing before any work starts.